

 1784
1784
I too do it all the time. I use the spray adhesive to attach the piece I am adding in. It sure does save on stabilizer. Good luck . Let us know how it works for you.
 13250
13250I do it all the time. I use double stick tape or a water soluble glue stick. Cut the design from the hoop and place the double stick tape around the hole, or use the glue stick and slap another piece of stabilizer over the hole pin the fabric down and stitch away. Be sure to make the patch big enough to cover the hole with enough to cover the tape or glue so it doesn't stick to the machine. I like to trim the hole left after stitching kind of square or round before I add the patch.
 4436
4436purists please do not read this
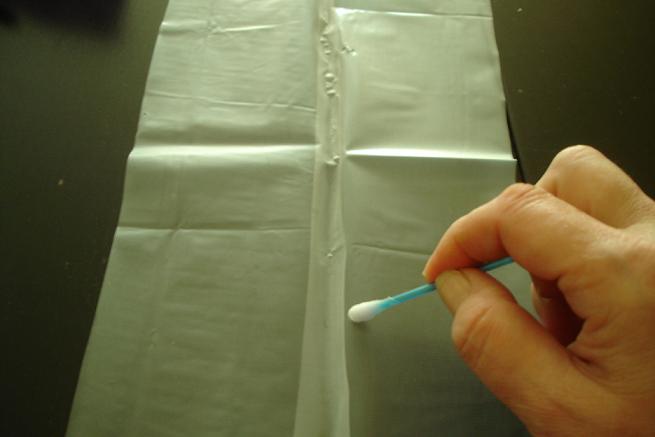
Ok here is what i do. i set my machine to do baste stitch around the design.i want to use. then i hoop up using vynel the type that is used for those see through pockets. i then sew out the baste stitch and remove the hoop from the machine. i will then cut out the vynel aprox 1/4 inch outside my baste stitch and leave a hole. next i place down double sided sticky tape all around the edge of the opening , remove the top sticky paper and then lay over it water soluble film
all i need is enough to cover the hole, now you can lay down your fabric over the "hole" section and continue to embroider as normal
when finished careffully remove the water soluble section along with your embroidery and simply re cover the hole with new WSF
the sticky tape is still in place and can actually be used several times before needing to be replaced. its amazing just how much of that waste pile you can use up this way.
 14995
14995Try this link. Download and unzip the file. There is a pdf instruction.
hugs Helen
 39739
39739You have excellent advice and I do the same as Jennlenore. It works really well and saves a lot of solvy and WSS and stabilizer. Good luck.
some great answers here: my tip is this when doing fsl designs I too will fill the hoop & I add little charms everywhere sew I get more bang for my buck! This is the perfect time to use all those charms that I have made throughout the yr. They make great little charms on the Chcristmas Packages or in cards too!
 299557
I don't waste any because i repeat the design I.e. an ornament as many times as i can to fill the hoop space.I don't remove any till the hoop is full of designs then i unhoop, cut them apart and rinse.My software lets me repeat the design so when i download to the machine it automatically runs all of them { I have a commercial machine and software} Works great for me!!
When i'm doing regular embroidery ( not FSL ) I use the sticky stablizer .When I remove the design it leaves a hole which
I cut a new piece that is a little larger than the hole ,peel the paper away and sick it to the back sticky side up . and continue with the next design.
I have used the same large piece until the sticky doen't stick and I get a new piece . Hope this helps Nancy
 16513
16513If you do want to stitch pieces together then use the thread that also dissolves in water.
 27028
27028If you download the attached sample from the needle of Anne there is a PDF with it that explains how to sew a strip of WSS to a frame of Tearaway I cut long strips across the width of the stabiliser and sew a strip of WSS between 2 lengths of tearaway with a large zig zag on my sewing machine. The border strips can be used many times over
This link doesn't work...I can't find the PDF on the site...can you guide me...where on the site is it...I check ed the Sample page, but couldn't find it there...Thanks...
Sorry about that. Try http://fromtheneedleofanne.com/Pe...
Scroll down to Simple Borders test design sample
click on that and then download FTNOA Border Sample.The PDF is in that folder. Hope this works.
I keep a piece of tough fabric with a window cut out of it for small pieces of lace. I sew a piece of WSS over the window. I find it easier to hoop like this as well as saving stabiliser.
 140717
Hi Katrina, what ever size hoop I'm using, after finishing I cut the excess stabelizer off in long strips. The next design I always use a normal base stabelizer that is hooped in the normal way then I add to it a sheet of stabelizer that I 'glue' together with a little water, after a few seconds and with a piece large enough to cover the inside of the hoop I lay the top piece on and moisten the edges with some water as well. This has worked well for me and my FSL work.
 [2]
[2]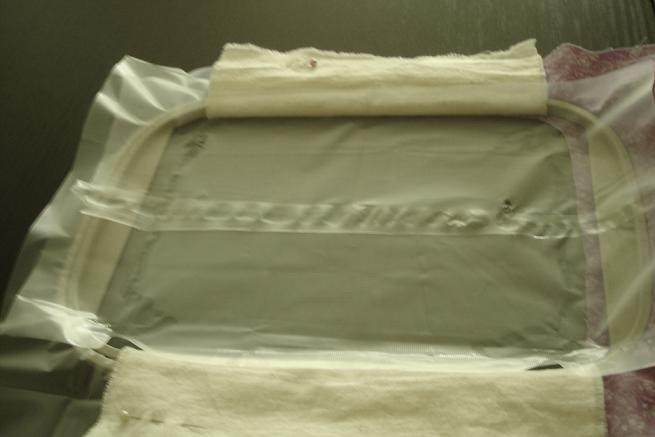
 45070
45070I iron the unused parts of stabiliser and use those to cut out pieces that cover the hole left by a design - I've just done 32 towels (and more to come) with a design that's just to big for my small hoop and only changed to a complete new sheet of tear away after about 6 to 8 designs. Used a spray adhesive over the piece, but it on the back and laid the towel on top and pin it in 4 corners. Works well for me.
When doing FSL I try to get as many designs in the hoop as I can to avoid waste. You could cover up the hole but it is important to get the stabiliser taught so I don't risk it. I do however sew pieces together before hooping.
 by dollygk
11 Dec 2012
by dollygk
11 Dec 2012
Mops, do you iron the stabelizer under a cloth? Doesn't it melt if directly under the iron?
 by mops
11 Dec 2012
by mops
11 Dec 2012
The water soluble plastic type I do under a piece of paper, all else without and I use wool setting for all of them.
Sometimes when I get a roll of vilene it gets pretty wrinkled or creased in places too. So I iron it flat. It takes a pretty cool iron to flatten it. I just turn my iron on for about 15 seconds and turn it off right away and it usually is warm enough to iron it. Test your iron on a small scrap first because if it is too hot, it'll shrivel it up.
 145196
If doing fsl I wet a paper towel and dampen around the hole and lay a new square to extend a little past the area I am covering each time I do a new one, that way you keep the hoop part each time. I hope I explained it so you can understand it.
Can you move your design over so it is closer to the edge of the allowed space, then put the design in again (on the same screen) and put it on the other edge? That was you will get at least 2 designs with one hooping. Hope this idea makes sense.
I have used paper first aid tape to hold small patches of stabilizer to do what you are asking about.
 by dididwiar
11 Dec 2012
by dididwiar
11 Dec 2012
I do, but make sure you have space between the designs.
Remember the stabiliser needs to be held firm for doing all designs.