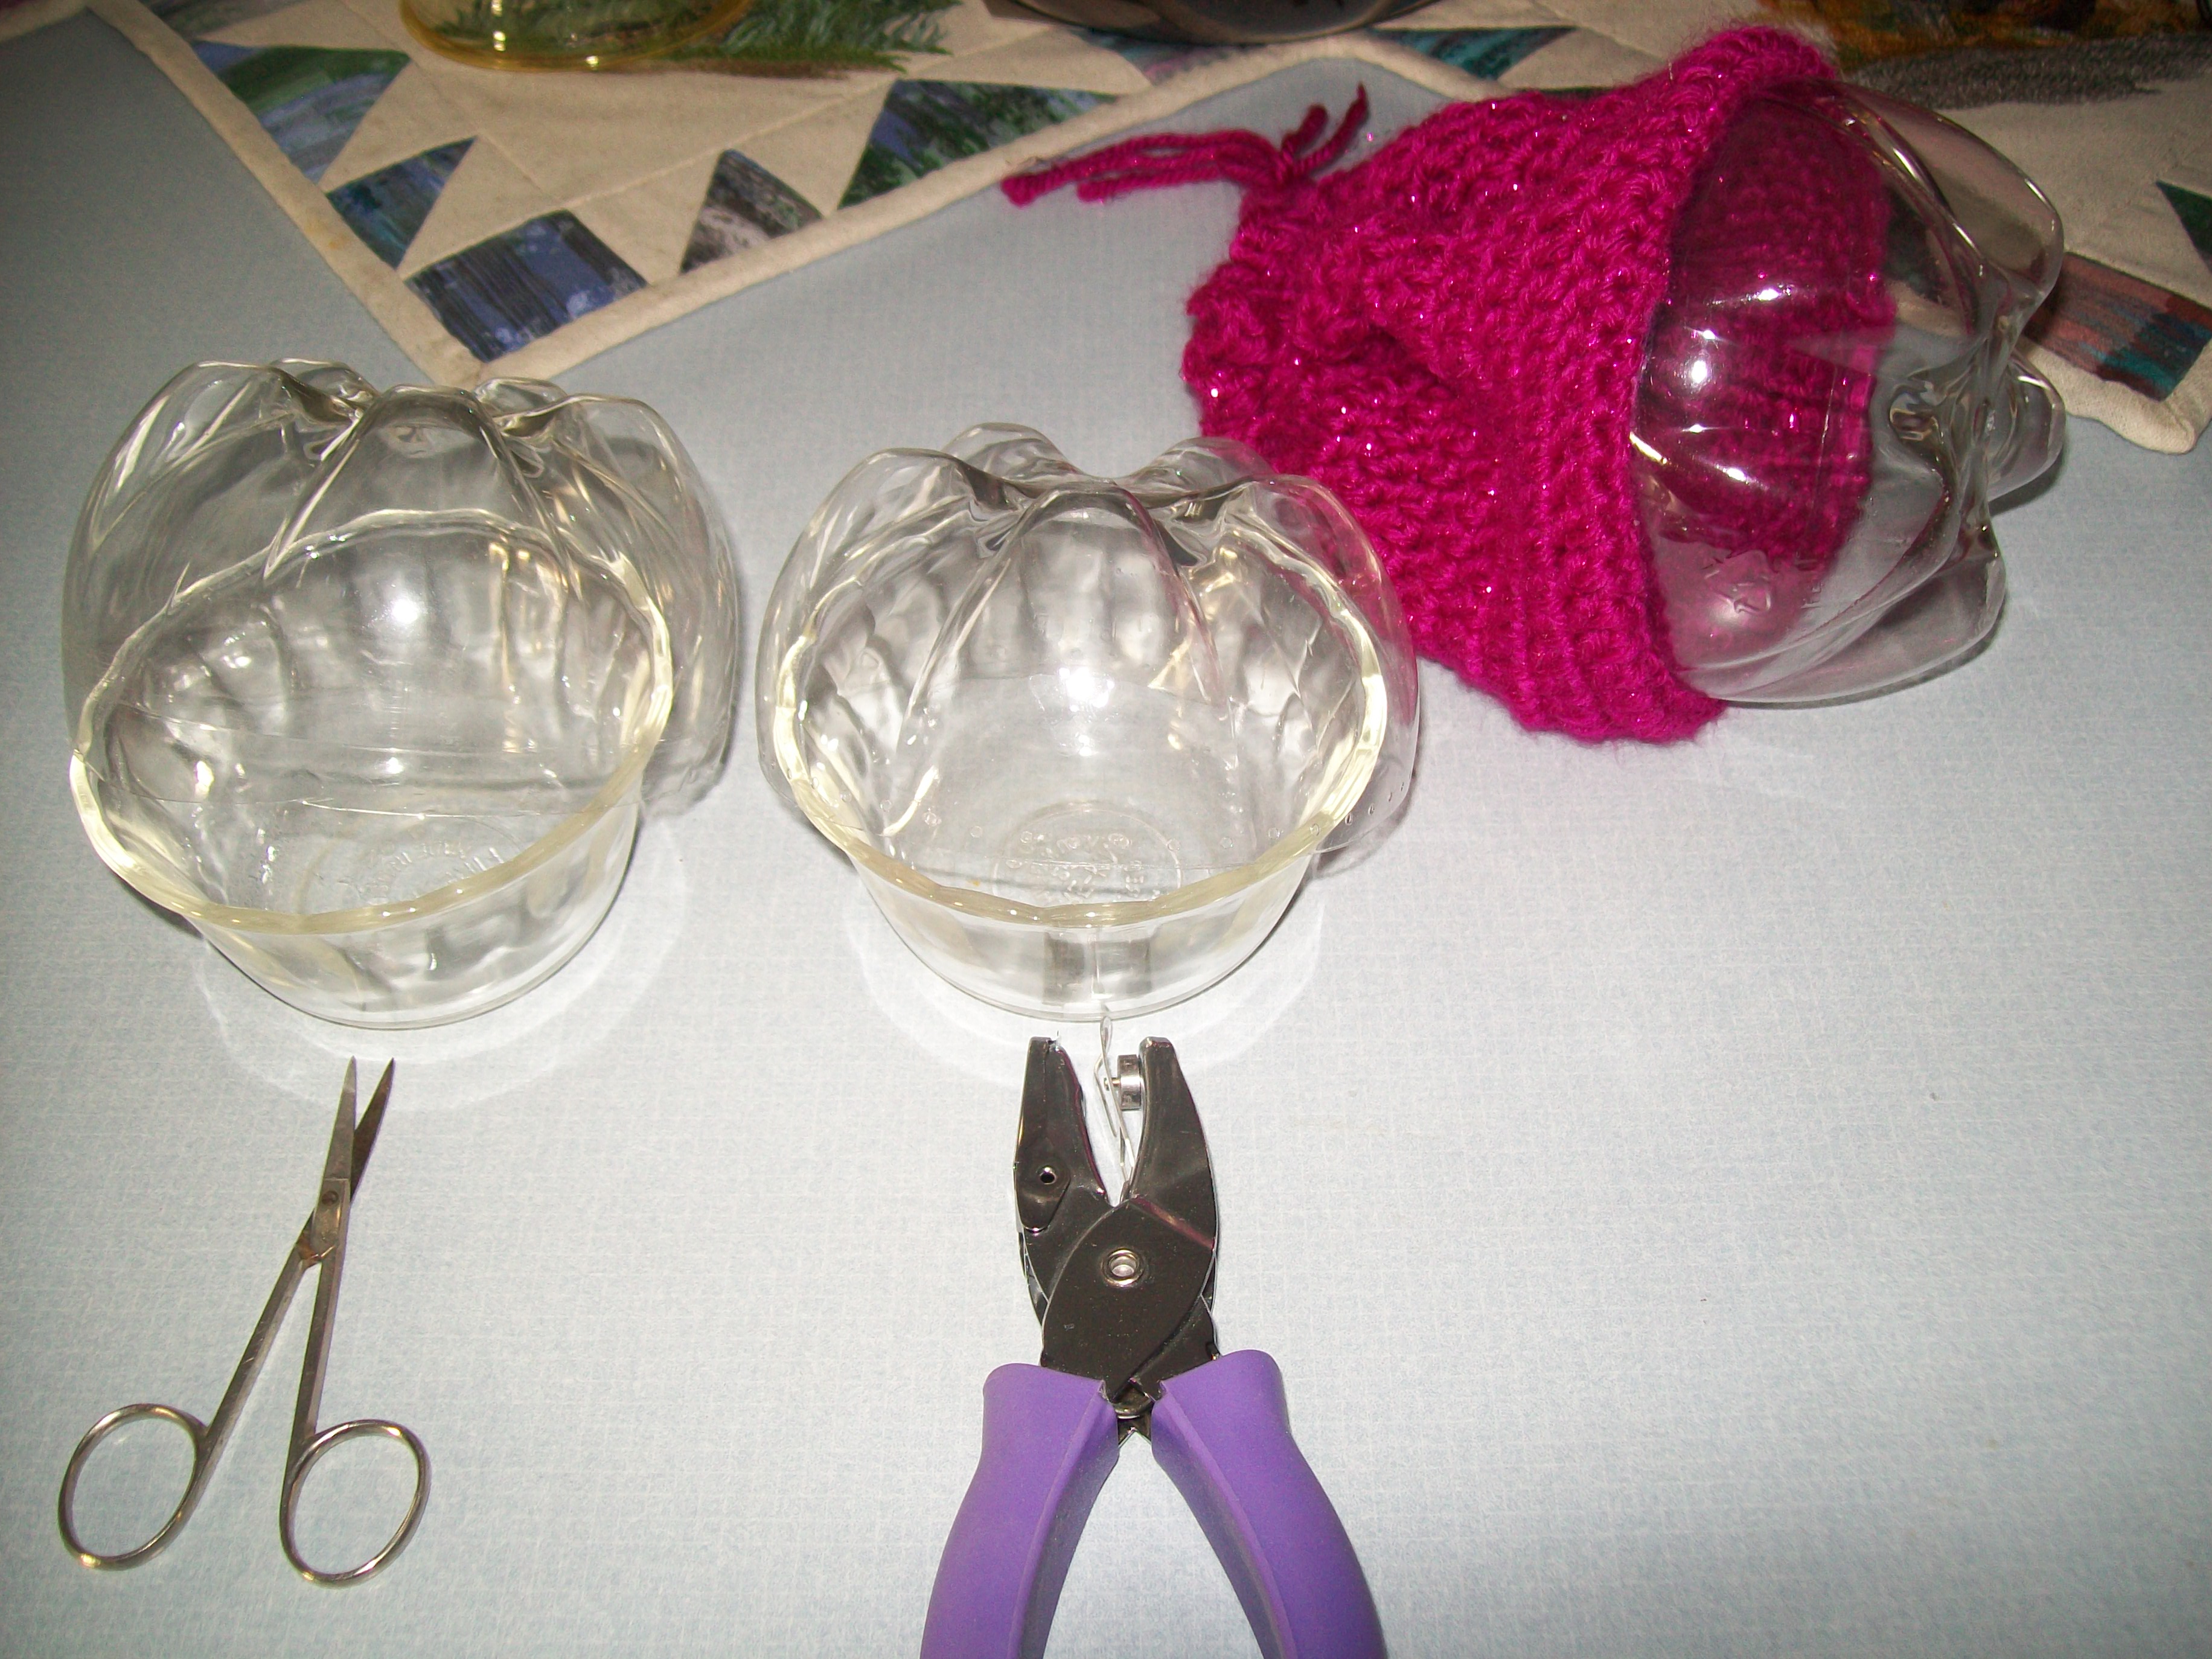
by lilylady 18 Nov 2014

O.K., I have been making little girl's purses for awhile. The bottom is a base of a two liter pop bottle. You will see a line at the base of the bottle, this I show you in the plastic cutout on the left. Take a scissors and cut the top off the bottom, close to the line. Then take a cuticle scissor (I show you on the left) and cut on the line. It will not leave an ruff edges. Take a small hole punch and made holes all the way around about 5cm apart and 3cm from top.( I show ou on the right cup) I use the width of the hole punch to measure around. Take the yarn your going to use and sew in and out of the holes all the way around. leave your tails of yarn inside to tie off later. take crochet hook, (f) is what I used, insert on outside of cup into one of the yarn in's and out's and single crochet all the way around until you come to where you started. connect together, then chain 3 and double crochet all the way around. Do this for 10 rows. then on the 11th row, chain 3 do 2 double crochets in each single all the way around. this is the top. Leave enough yarn to stitch holes closed down the back. cut off yarn. Take 3 strands of yarn about 85 inches and single crochet them all together. you will need 17 inches of crocheted yarn, leave tails on each end to tie together when done.In the 10th row, weave the 17 inches in and out of each hole( I start where the seam is and end where the seam is.) Tie the to ends together and leave a fringe. I hope all this makes sense, I'm trying to be very helpful. thanks for looking

41781

by shirlener88 29 Nov 2014

what a fun project.

211078
by hagridsmom 26 Nov 2014

How cute - thank you for sharing and with the directions!! wow!!

2179
by dragonflyer 19 Nov 2014

Great idea....great directions, too!

1 comment
lilylady by lilylady 19 Nov 2014

thanks!

314029
by connerj 19 Nov 2014

This is sooo cute. When I am not embroidering I am crocheting. This will be a perfect take along project while in the car. Thanks for the helpful directions.

1 comment
lilylady by lilylady 19 Nov 2014

your welcome, enjoy!

7166
by lhart 19 Nov 2014

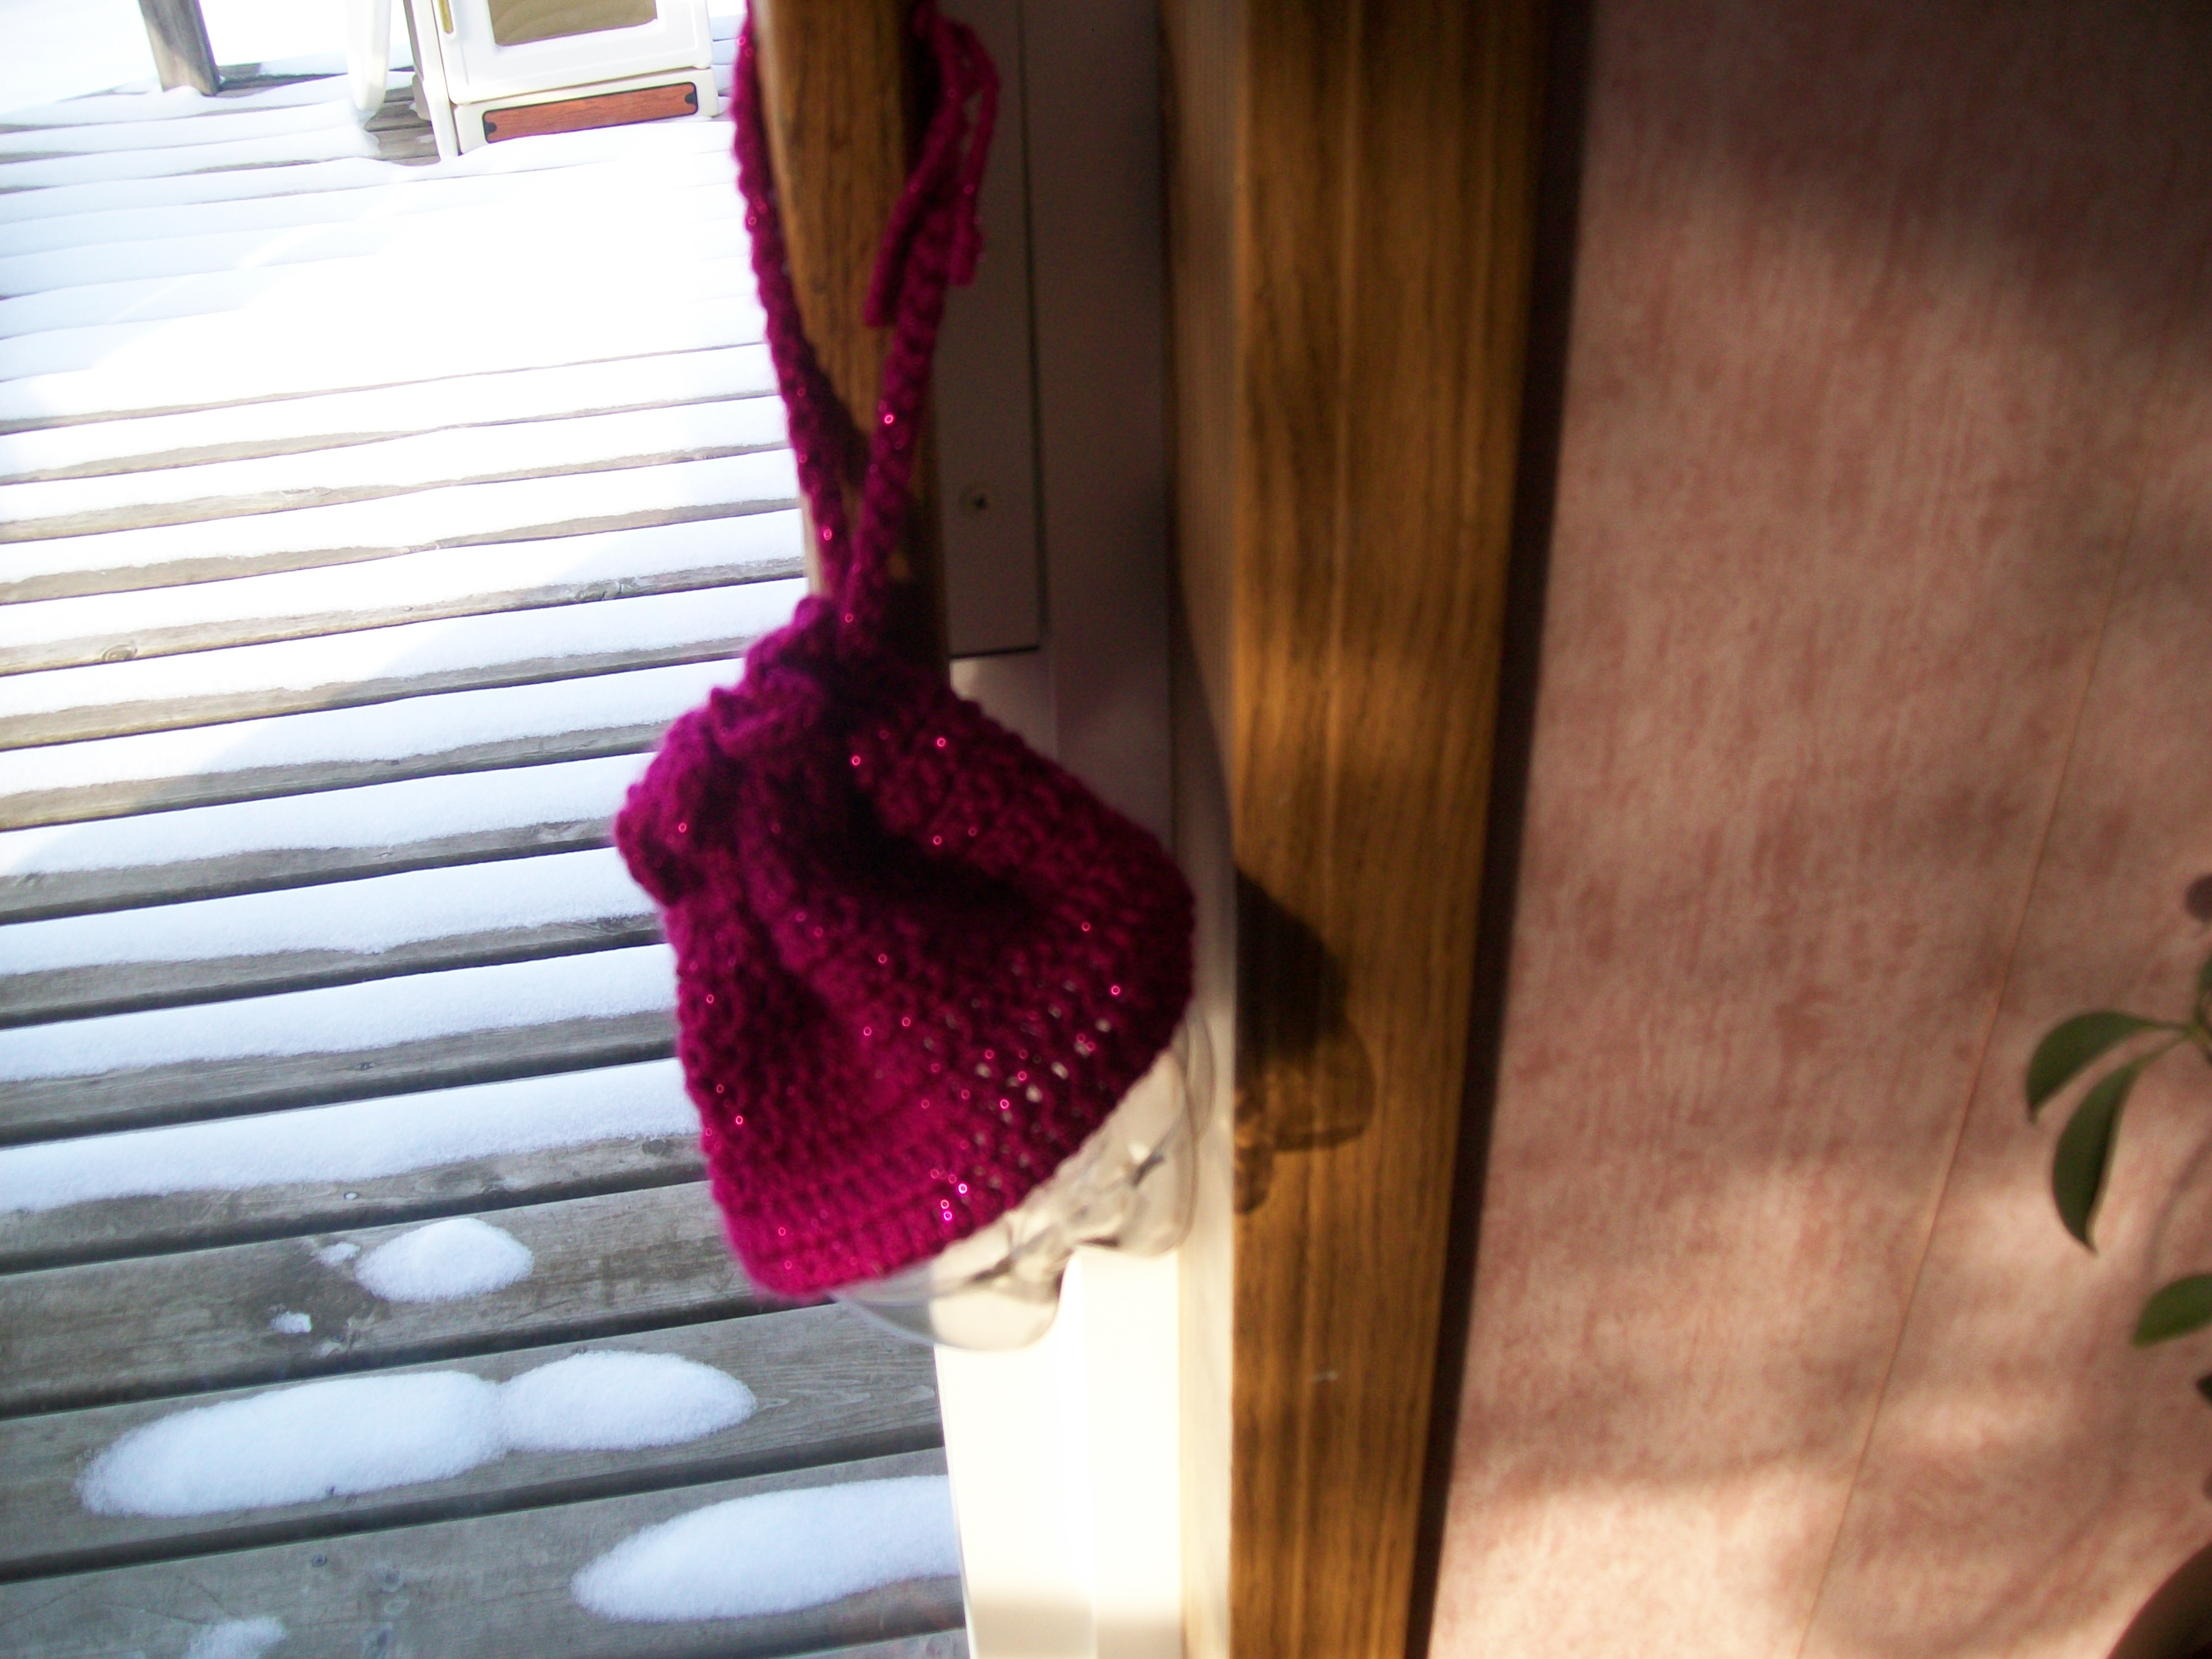
What a great idea, this would be a perfect "loot" bag for a childs party.
(end of party favour they take home). Love the added direction, Thanks.

1 comment
lilylady by lilylady 19 Nov 2014

thank you, glad instructions helped!

3290
by rosakent 19 Nov 2014

Many years ago some friends made these for bazaars. They used oval shaped bottles, made bedding and put small dolls in the bed, the crochet cover folded back to make frill around the bed. They sold very quickly. What a good idea to use them as a purse, they really are multi-functional.

1 comment
lilylady by lilylady 19 Nov 2014

thank you, I think I remember the oval ones.

2958
by justsew 19 Nov 2014

They look great well done.
Hugs Pam.

1 comment
lilylady by lilylady 19 Nov 2014

thanks!

30988
by mops Moderator 19 Nov 2014

Nice idea. Are you sure it is 5 cm apart, i'd think 5 mm would be a better distance.

1 comment
lilylady by lilylady 19 Nov 2014

My ruler has centimeters, this is what I measured, which looks to be around 1/2 inch.

145196
by Dupsilly 18 Nov 2014

so cleverly done, thx for sharing
Magda

1 comment
lilylady by lilylady 19 Nov 2014

thanks!

2092
by shirley124 18 Nov 2014

Great little bags for little girls. You have done well telling us how they are done. Many thanks. Shirley

1 comment
lilylady by lilylady 19 Nov 2014

thank you!

52676
by lilylady 18 Nov 2014

Forgot to add, for boys, a marble bag with the camo or boy colors. still have my kids from 45 years ago.LOL!

41781
by pennifold 18 Nov 2014

Great use of recycling - love Chris

1 comment
lilylady by lilylady 18 Nov 2014

yes, I love them. And glad I now have 5 little girls to make them for.

234254
by noah 18 Nov 2014

Sounds awesome and even i can follow it thank-you hugs

1 comment
lilylady by lilylady 18 Nov 2014

thanks noah!

360433
by loosie 18 Nov 2014

Even I understood the instructions, well done :)

1 comment
lilylady by lilylady 18 Nov 2014

I'm so glad. I've been going to put them on here, earlier, but was scared I'd mess the instructions up. LOL!

24276
by highlandermom 18 Nov 2014

Cute idea and you did a nice description of how to.

1 comment
lilylady by lilylady 18 Nov 2014

thank you!

86901
by pldc 18 Nov 2014

well done Sandy! Even I understood what you have done here! ~hugs~

1 comment
lilylady by lilylady 18 Nov 2014

thank you!

299557
by basketkase 18 Nov 2014

Terrific idea!!

261161
by Leaha 18 Nov 2014

This is really a cute and clever idea. The little ones can see what they have in it! Thanks for the explanation.

1 comment
lilylady by lilylady 18 Nov 2014

Thank You, sew glad you understood. Sandy

35301