

Sewmum, have you managed to figure this out? If you look at my post http://www.cuteembroidery.com/900... and click on the picture then you will see how the jump threads from one letter to the next are my way of 'walking' the thread around the designs. Any luck with your problem??
Thanks for asking dolly. Dragon flyer ended up coming to my rescue as I could not work out how to edit the way the stitches were between the leaves. I am so new to digitizing and embroidery for that matter and have really appreciated the help and advice from cuties here.
 45070
45070I hope some of the suggestions you have received have solved your problem. If not, what I would do is to flip every other design, so the stitching of one design begins on the side that the stitching of the previous design ended. Happy Stitching!
 11468
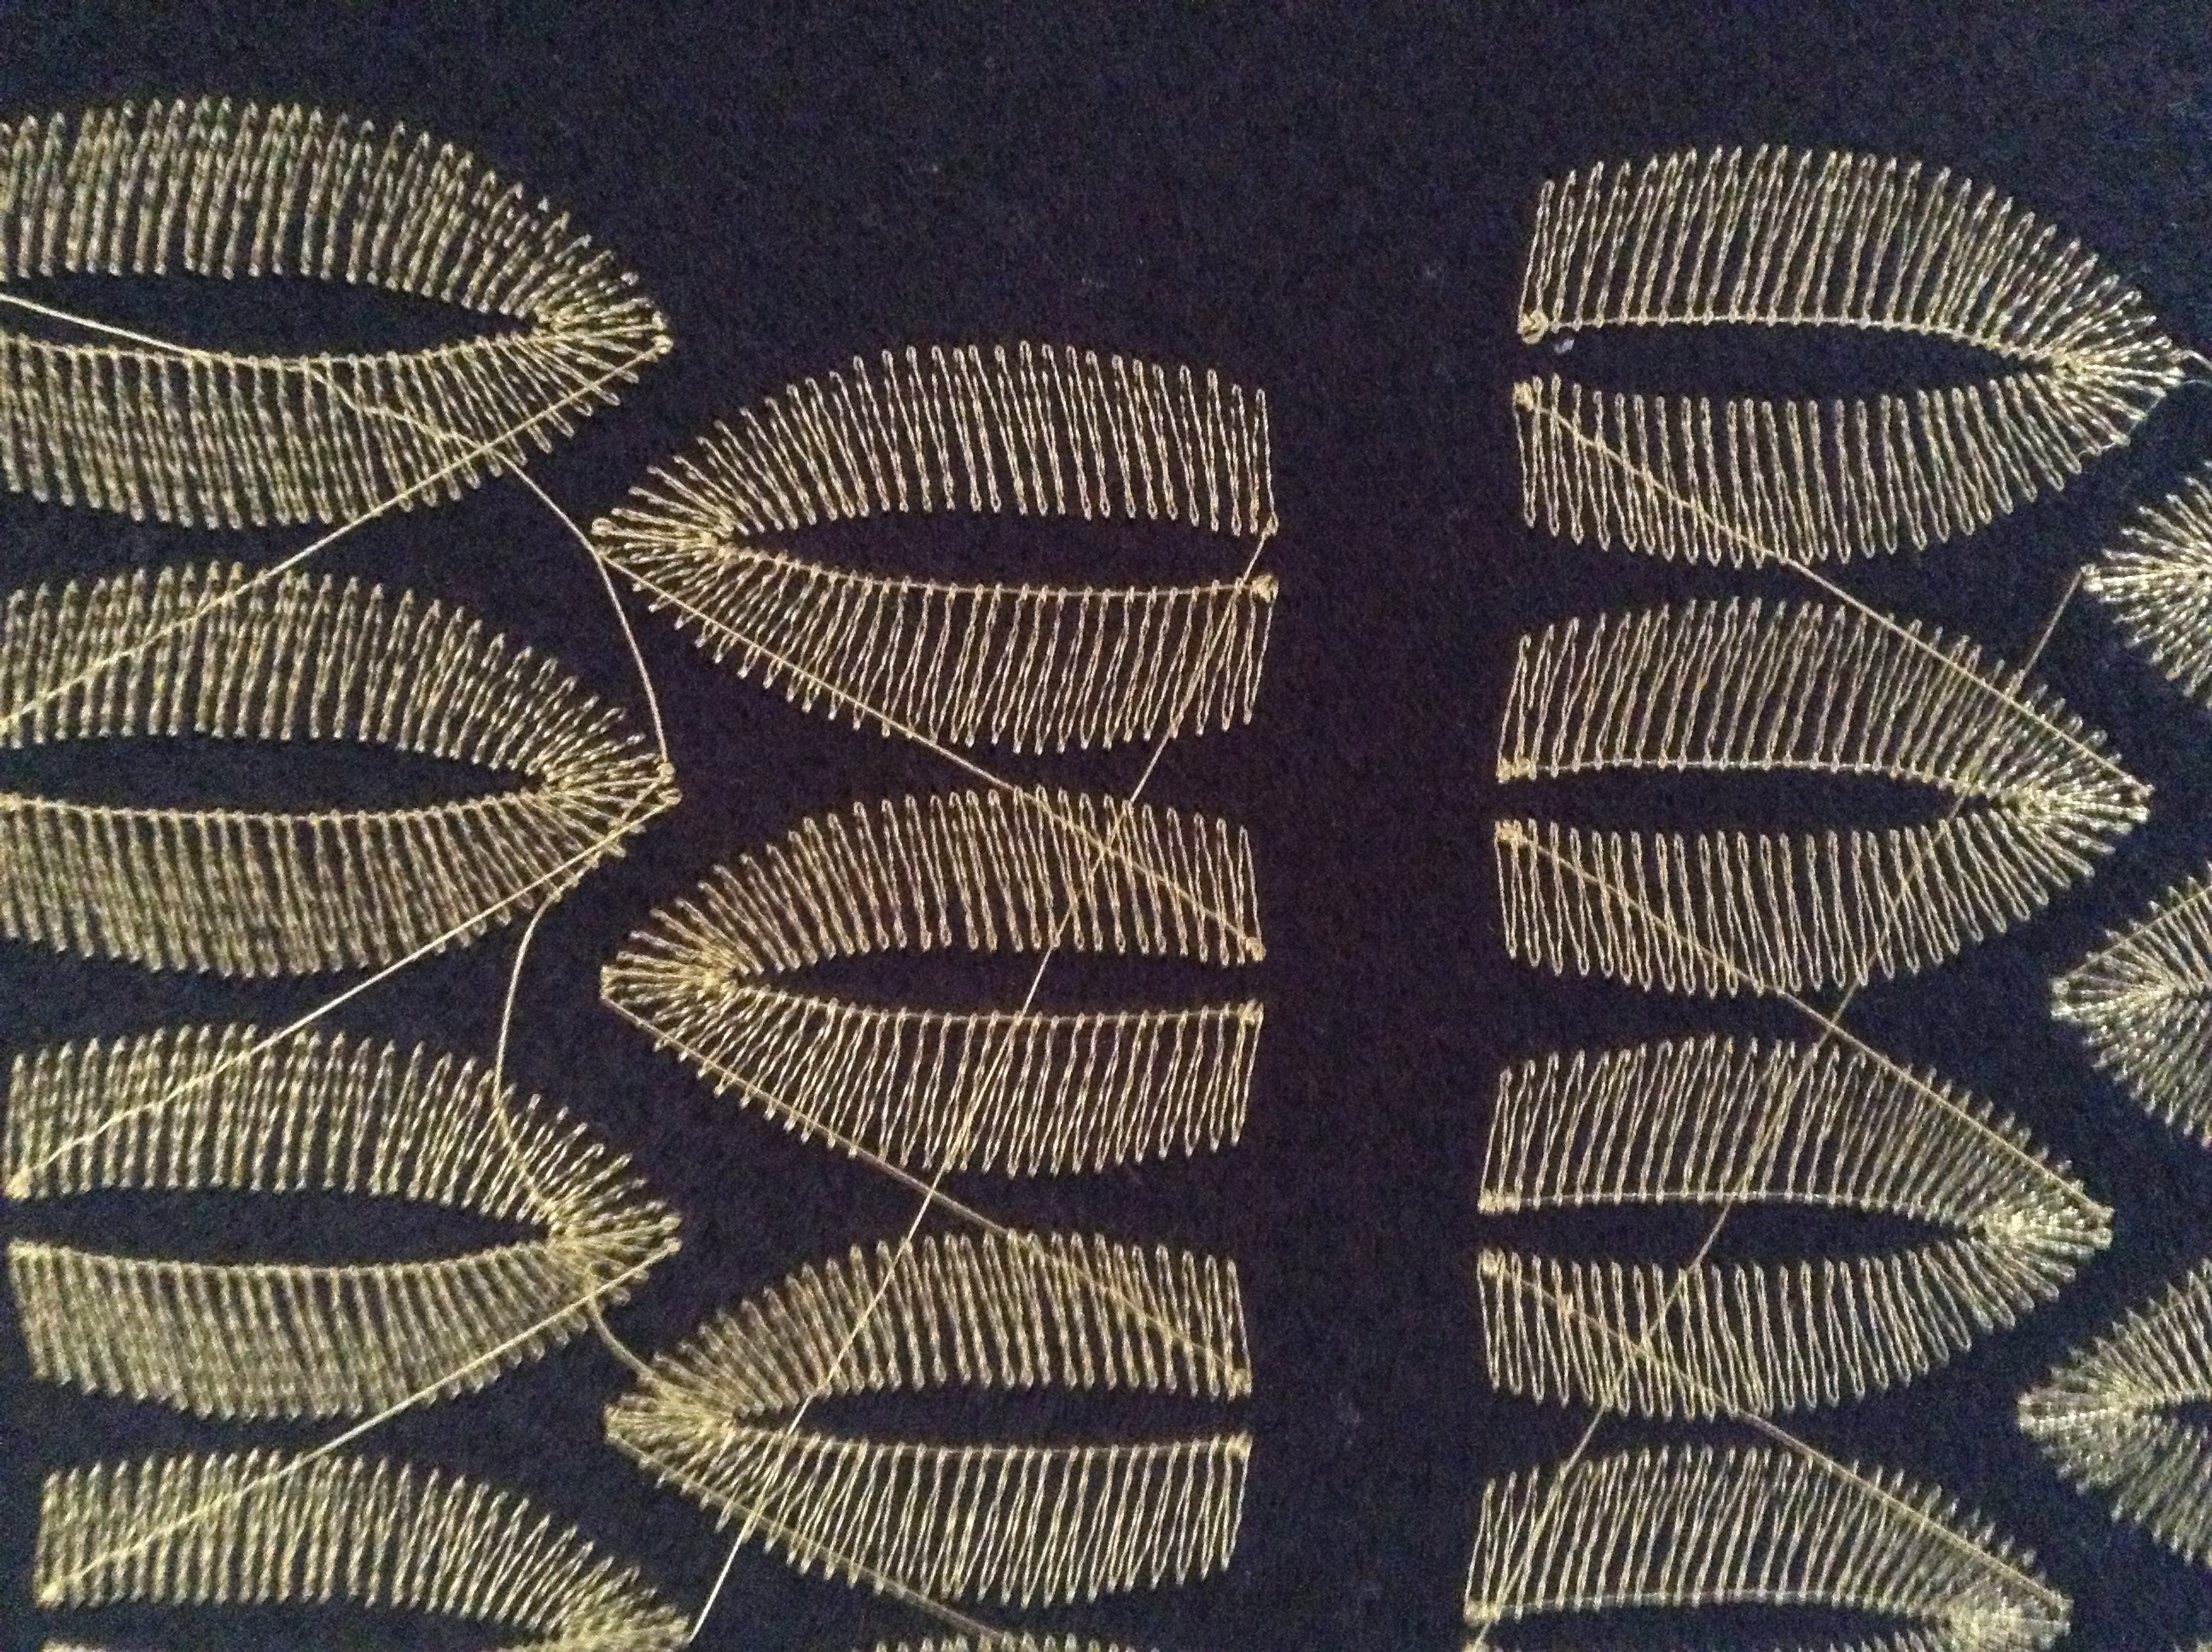
11468I think (?) what Dolly means is that you need to manually insert a run stitch line from the end of one leaf to the beginning of the next...then your machine will finish sewing the first leaf and "walk" along the run stitch and then begin the next leaf...I would suggest that you place the "Start" icon (in my software it is a square shape) for the design and then place the "End" icon (in my software it is a plus sign) for the design...select run stitch and click in the run stitch from the end of the leaf to the start of the next...as info...I would place the start icon at one side of one leaf and the end icon on the other bottom side...the shortest distance you can between the two leaves...and your run stitch in between the end of the first and start of the second leaf...hope this makes sense....
 by mops
edited 05 Mar 2015
by mops
edited 05 Mar 2015
You don't digitize a running stitch, you just insert one or two stitches in between 2 leaves in such a way the thread won't cross an as yet to stitch embroidery. That way you can cut the jumps afterwards. It may be necessary to change the stitching order but from what I se you can do as is.
Does your machine have the possibility to cut automatically? My Ruby has, but does only cut thetop thread, not the bobbin thread, so the problem would remain for the back.
Sewmum1 - On the Janome Digitizer Pro...when you make your "run stitch"...you change the stitch length to a larger number like 7mm or higher and the machine will either just jump to the next start point if the distance is less than the stitch length you assign, or add one stitch every 7mm or whatever stitch length you assign... depending upon what you set it to..your leaves look close enough in the picture so that you probably will only get one stitch between each...but you need to use the "run stitch" icon to do this...You would adjust the length of the "run stitch" in the Object Details...If you choose to start you leaf in the middle of the side and end at the middle of the other side of the leaf...the leaves are the closest together there and you should not even get a stitch in between but just a jump...
Thanks for this info. I think I am just way out my depth here as I am not even able to edit what I believe are the start and end points of the design. I will have a go again and keep you posted. Thanks
Hi Sewmom, when I combine many designs into the 6x10 hoop, I will 'walk' the jump stitches around a nearby design to get to the next design to use that color. This lets you leave the machine, hope this helps... Dolly
Hi Dolly
thanks for your reply. I am very new to embroidery and digitizing so I am still learning the correct terminology. What do you mean when you say you "walk' the jump stitches? Is there something I need to click on to get the machine to do this?
 by dollygk
06 Mar 2015
by dollygk
06 Mar 2015
Oh... sorry... do you edit your designs? When I have several designs I'll separate all of them and place each color to stitch out one after the other so that all of a certain color will finish together. Then, all of the next color will stitch and as the machine jumps to the next stitch place I'll add stitches so that it will walk around or stay out of the line of other stitching. Hope this helps.
45070