

It is a great work very beautiful. Take your time to think about all details what you have to do for the second part, note them on a paper in order to make no fails and go on. You will be proud with your work and we too. Amitiés de France;
It's finished, up the top of the page! And I really am pleased with myself, thank you for your comments.
What a beautiful design. I don't know as I have ever looked at that one. I have never done a split design where everything had to line up. You are doing great, so you'll get it. PMA--positive mental attitude!! You can do it!! :)
Apr 14, 2013 -- Can't wait to see the whole thing - be brave!
SO pretty! I would be terrified of messing something up too. I'm sure you will figure it out.
 38558
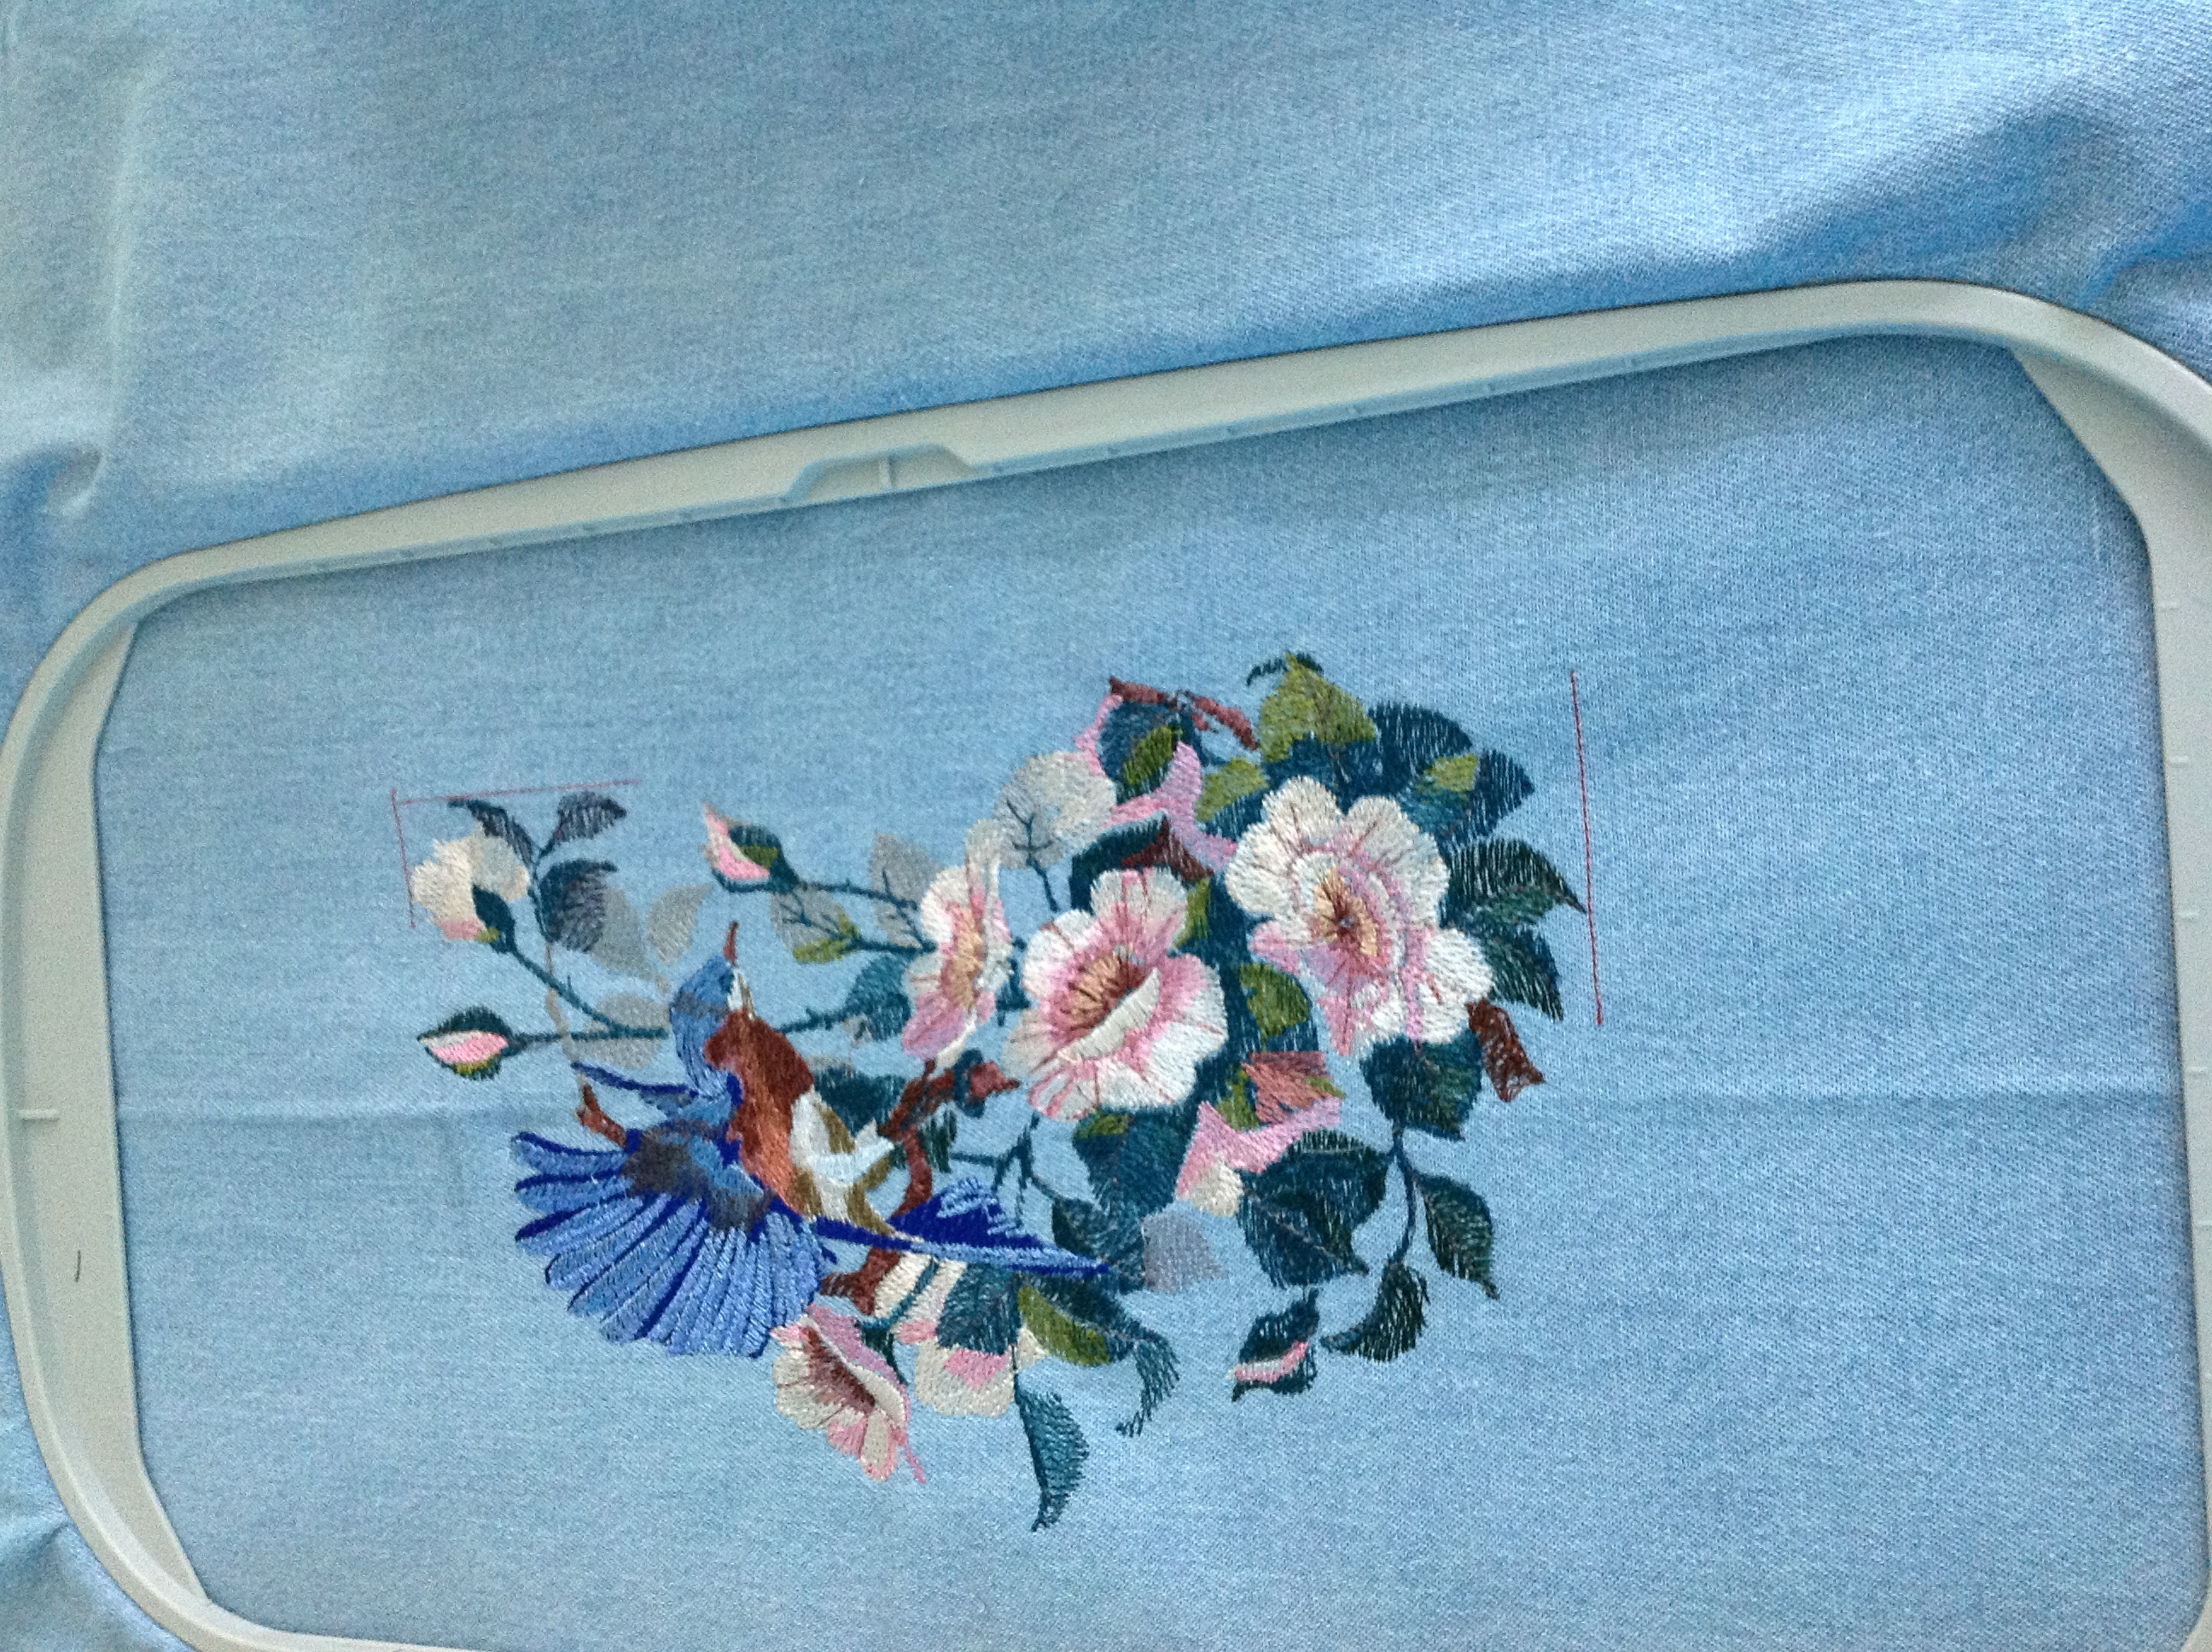
38558This is stunning so far. How big will the finished design be?
Now it is finished, it's roughly eight and a half inches square, thank you for your comments.
 89895
89895This is beautiful and excited to see this finished you can do it. You got this far.
Thank you. Doing that part was nothing, I just had to keep changing the threads and bobbins, and wait for it to finish. Then I started to worry about the final part, which only takes just over half an hour, but I'm getting less worried about it now, and longing for the morning to come, to see if I can do it properly !
 86901
86901This is lovey Good luck with the next part
Thank you. I need all the luck I can get ! I must admit to being a bit nervous about finishing it !!!
 46645
46645 740170
If you want a visual illustration on the excellent instructions below go to KOdesign (see link below) or to Emblibrary to name just a few.
Lovely design, adding the second half will make it spectacular!
Thank you. I've had a look at ko designs, and it certainly makes it easier to understand. I've printed off the designs, and hope I can get it right tomorrow. I've got a bit more confidence now, and I am grateful for all your help.
 145191
this is just beautiful, I can't wait to see the finished product! I agree Sharon has terrific instructions here
Yes, Sharon certainly explained it in full, she's got some patience! If I get this finished to how it should be, I'll do some of the others that have ended up in the bin !!
 299557
It looks great! I hope you find a way to finish it. Perhaps you should just have your son show you how to place it. Different people read instructions in very different ways. Wish I could help.
Thank you, I'm going to try the way that sharonleekesner has kindly written about, when I've had a good nights sleep !!
 57618
57618very well done, crossing my fingers that you get it workedout.
 20463
20463When I do a design like this I use a removable marker or tape to mark horizontal and vertical lines for the centers, all the way from one end of the design to the other. Like a big cross. I also print out both designs on clear translucent sheets. I use the black and white feature on the printer, not color, but you can use color. If you have printed out your designs then lay the first one over the design you have just sewn out. Take the other print and re-mark the center lines to make them bolder and take a sewing machine needle or very large needle and poke a hole in the very center, where the two lines meet. Lay your second printed out design where it belongs to match the sewn out design.. Take your time and move it around until it looks just like the picture. Sometimes I have to cut some of the paper around the design and this is the reason you have remarked the centers. When the printed out design is perfectly matched to the sewn out design, pin it or tape it into place. Use a removable marker and touch in up and down to the hole you made in the center of the design. Take a ruler and lay it across the vertical line, using your marker, extend the lines, top and bottom. Then do the same horizontally. Remove the printed design and using a ruler, extend the lines to the center dot, making sure they match up. Re hoop matching the lines and centers you have drawn. Don't thread your machine. Touch your machine buttons to see if your needle goes to the center. If not, move the needle until it is centerd. Now touch your thread plus button, just like you were sewing out the design. You can turn the speed all the way down and do this too. Slowly advance your stitches to see if they match your sewn design. If not, either re hoop or move the design with your machine. I have done this for years and never have a problem. Be sure to put your design back to the beginning after having advanced the stitches. Be brave, best of luck.
I've read this through, and think I've got it!I won't attempt it tonight, I'll feel better after a good nights sleep, and see if I can make some headway in the morning! I'll be sure to let you all know!
Very pretty! Doesn't she provide any instructions on how to sew the second half? Actually it looks like a whole design just as it is!
I'm going to check her e-mail, and if she has given me instructions, I'm going to feel a right fool !!
 10335
10335 72397
72397So far so good i to am trying to learn this and i think when you go to start it next time it will sew out the line?Then i put one line on top of thee other??Thats how my machine does it ??
 360401
well done on being half way there. God luck with part 2. Don't think you are loosing your marbles at all. I expect its taken a while to get this far so have a break and return later, then you will no doubt have sorted out the next stage. It is a beautiful piece of work
Hi Caroline, I had two hours break, and watched the semi final at Wembley, wasn't pleased that Chelsea lost, but there you go, you win some, you lose some, bit like me and my embroidery !! Still haven't worked it out though! But what I might try, is mark the material where the arrow is on the frame, on the right hand side, and try and get the needle right on the start of the mark at the top, are you with me? Oh dear, decisions, decisions !!!
Smart idea to walk away for a while then maybe go back and read how to do it over again then go for it. Lots of luck.
 119790
How gorgeous......Kara is one of my favorite designers!! Great stitchout! Wish I could help you with the placement, but I have not had any experience with rehooping (only when I mess one up..LOL)
Hi, I am so pleased with it so far, 42,960 stitches, 133 minutes, and I am toying with the idea of not putting the second part on, for fear of messing it up ! But I know my son will tell me off for being a coward, so I'm hoping I can get it right !!
I agree with Sharon but as a precaution, I stitch around the inside of the frame to ensure that I get a true centre - also I mark the back of the design rather than the front - you will manage it OK if you go slowly - Good Luck
 261161

