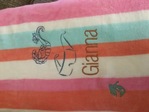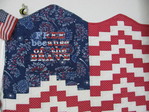
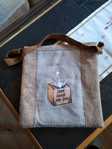
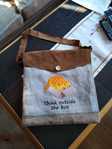
Urban Thread design. bag for our granddaughter . made this some years ago
 113270

 109038
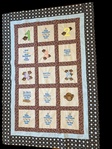
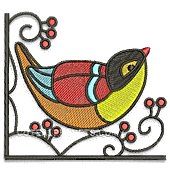
 113270
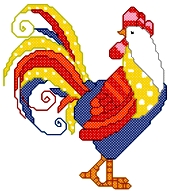
 59607
59607 44808
44808
 360366109038


 Cruelabel 3h 24m ago
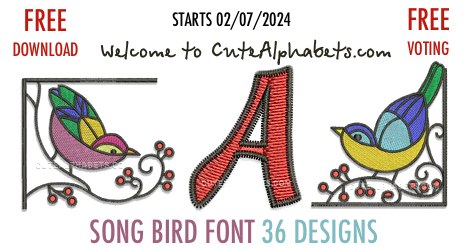
Pueden votar por la s minúscula que esta en la pagina 4 y por la o minúscula, por favor
 worthy 4d ago