

 [2]
[2]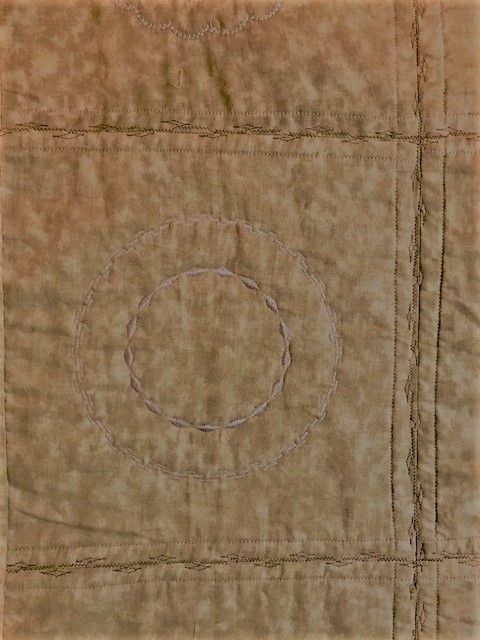 [3]
[3]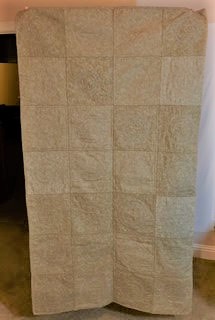
 109762
 34770
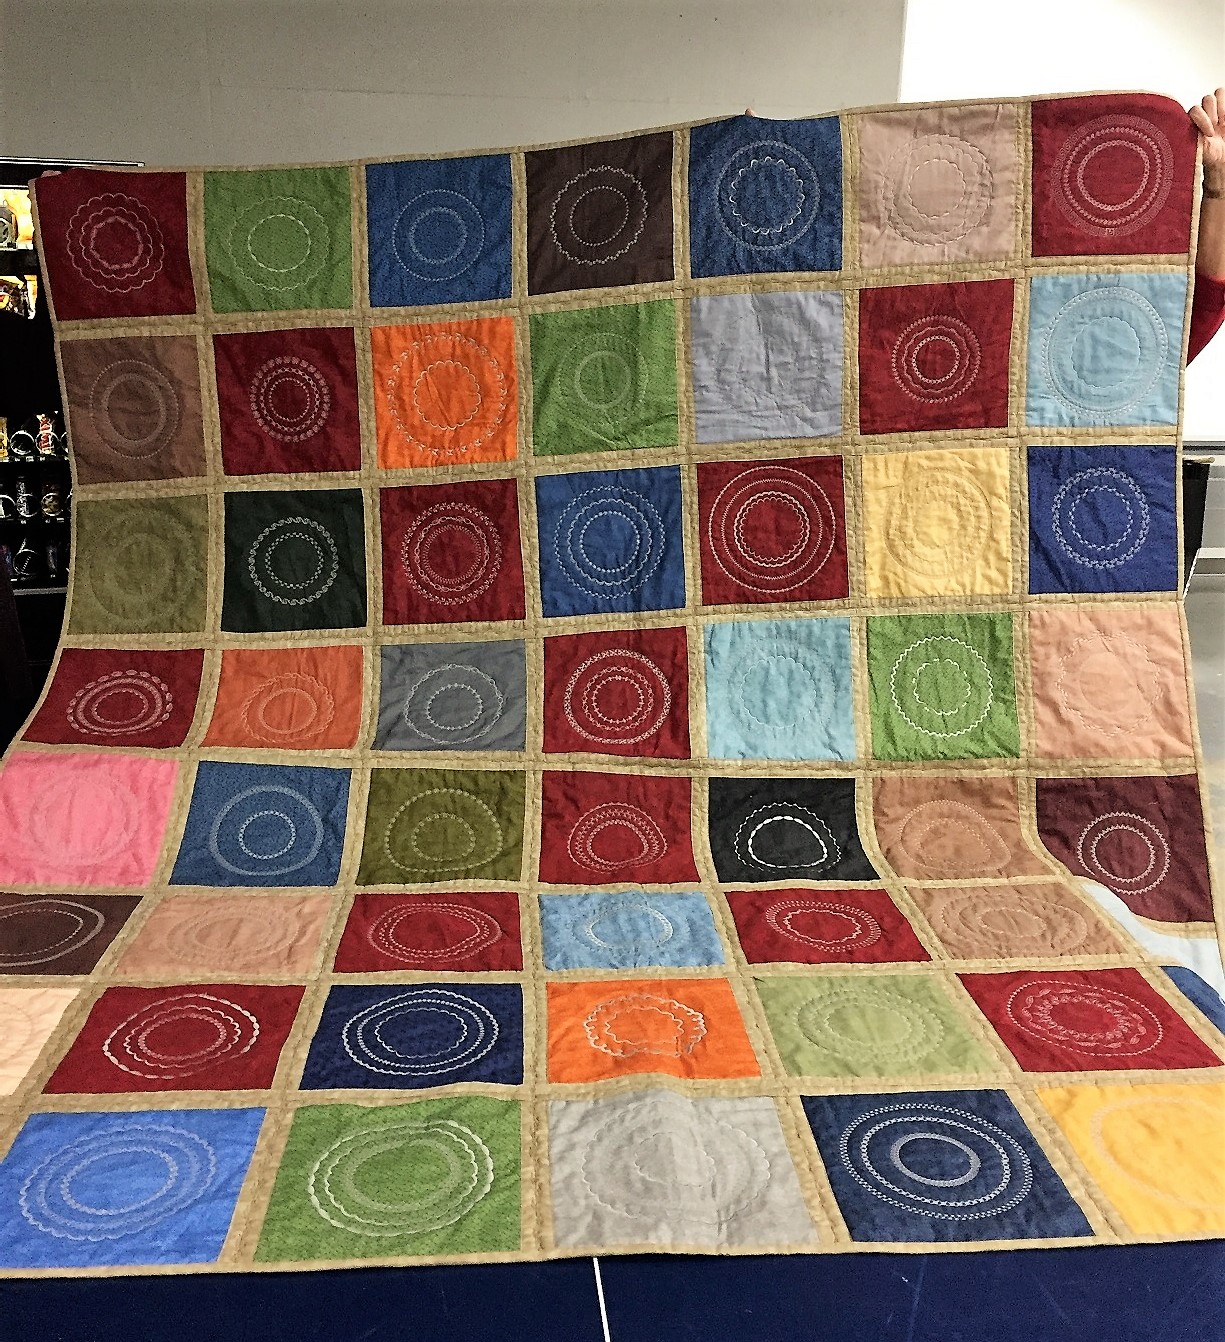
34770Congratulations on your first quilt as you go its beautiful. Love your choice of colours.
 by crafter2243
15 Feb 2017
by crafter2243
15 Feb 2017
Thank you. It sure broadens the capability of using the embroidery machine in the future.
Angie, did you have the attachment they used in the video below to make your circles? Or did you do the circles on your embroidery machine? I can only make a 5 inch circle or smaller, with a 5x7 emb machine. Still studying how I will make my next quilt....
by crafter2243
15 Feb 2017
I used a similar attachment. That is why this is not in project. I did not use a hoop.
 by toogie
15 Feb 2017
by toogie
15 Feb 2017
I looked that attachment up and it was $30. I wonder if the thumb tack method works effectively.
I have tried the thumbtack method...it's okay, but if you can get the circle attachment for only $30...I would do it...after I tried the thumbtack method, I went to my dealer and asked if I could try the circle attachment, which I did, and then I bought it as it gave me a much better result.
 109038
 360365
Really looks nice. What method did you use to join the blocks together? Yours look the best I've seen. I have wanted to do one but never tought they looked as neat as yours.
by crafter2243
14 Feb 2017
To me it seemed to be the easiest to understand but not necessarily the best way. Take a look at the link i posted before and at one point they describe how to put the blocks together.
wow, so colorful: great job :) I have never tried to make something like this.It's lovely! Hugs
 740059
Very nice job on the quilt. Thank you for sharing.
Happy Stitching
hallo Angie, dein Quilt ist toll geworden, ich heb leider keine Ausdauer und bin nicht so fleissig wie du, meine Hochachtung, liebe Grüße, Maria
by crafter2243
14 Feb 2017
Vielen Dank. Ich hab Projekte von Dir gesehen an die ich mich nicht getraue. Jeder hat seine Lieblings Projekte.
i HAVE ONLY DONE ith rAGGY QUILTS, BUT HAVE BEEN TRYING TO FIGURE A WAY TO SEW UNDER, AND i THANK YOU IMmensly, sorry for the CapLocks!!! I think I understand, you sew the blocks together , lining up the corners, then turn the extra material as a fold & sew around as to sew it down with the fancy stitches & sew it down all around the block??? Hugs, Judy... BTW, Fantastic job of making your quilt!!! Thanx for sharing!!!
by crafter2243
14 Feb 2017
Below I added a link to Youtube that will be better explaining it. After I had all the blocks together the way she demonstrated I thought it would be better to stitch additional across the seams with a stitch that would catch both edges of each block
 92391
92391Could you post a picture of how you join the squares. I can't quite picture what you are saying in your description. . Lovely quilt and sounds so easy to do.
thanks
by crafter2243
edited 14 Feb 2017
I think this is going to be better then me trying to make the different picture. On Youtube search for
Circles Sew Simple - SEWING WITH NANCY
I will try to add a link, but it does not always work
https://www.youtube.com/watch?v=-...
Wow, love the color blocking and the design you used in the middle of each.......it is beautiful!!
 261161
I love it! That is so interesting and makes my eyes move over the surface in a pleasing manner. Some quilts draw you to a point and seem to stop there, but not this one. I love your use of different built in stitches and your circles are perfect.
by crafter2243
14 Feb 2017
Thank you. The circles are perfect because it is a attachment to the machine that moves the block and sews them perfectly. A little slow, but still fun to watch.
 158552
I like your patch! It's a good idia with circle and all the stitches of your machine. Wonderful
Lovely job. How long do you think it took? I've managed 24 blocks for mine so far but I still have a long way to go.
by crafter2243
14 Feb 2017
I wish I could tell. There always seems to be something else getting in the way that needs to be done and for a good 2 weeks, after getting the first 2 rows together, it just sat there. I probably worked on that over a 2 month period.
 140716
I am a want to be quilter. You give me inspiration. Kay
 85867
85867Looks great! I am like Kim and would also like to see the reverse side. What size are your squares/blocks?
by crafter2243
edited 13 Feb 2017
I already turned the quilt over to the person going on the mission trip to deliver it. I will ask her to take a picture of the back and bring it back here. The block is 10" so it turned into a 70x80
109038Nicely done..what block joining technique did you use...would also love to see the back...
by crafter2243
13 Feb 2017
Kim it was something I saw on a Nancy Zieman you tube. Batting and top cut the same size and the backing I made 3" bigger to give me enough room for adjustment. The square then was sewn together by matching the backing, so that the extra 1 1/2 inch was then on the right side. That was turned under and then sewn down. I thought that the simple seam between the blocks would not be sufficient and that is why a sewn that decorative stitch over the seam.
Thanks Angie...always interested in how ITH blocks are joined together...
Great job, the colours all blend so well together. Love Chris
 234253